- Writers: Joshua Williamson, Jeremy Adams, Chuck Brown, Phillip Kennedy Johnson, Stephanie Phillips
- Penciller: Dan Jurgens
- Inker: Norm Rapmund
- Artists: Rosi Kampe, Fico Ossio, Leila Del Duca, Clayton Henry
- Colorists: Hi-Fi, Matt Herms, Sebastian Cheng, Jordie Bellaire, Marcelo Maiolo
- Letterer: Josh Reed
- Cover Artists: Daniel Sampere, Alejandro Sanchez
- Editors: Chris Rosa, Paul Kaminski
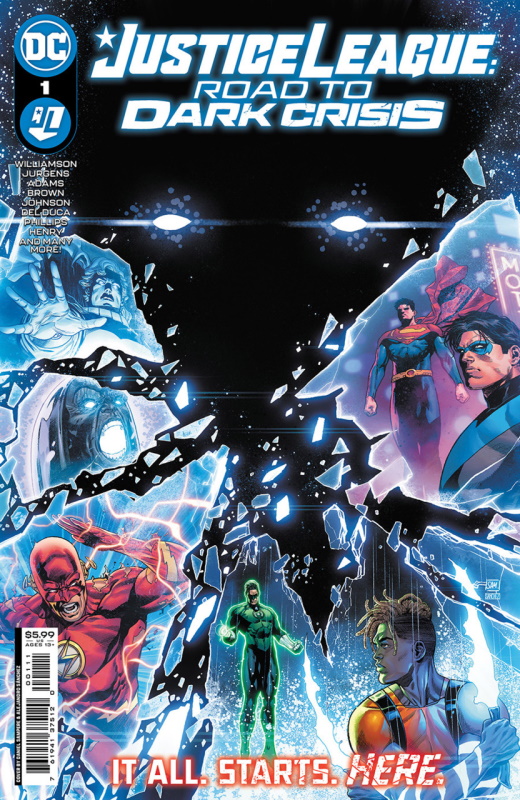
Cover: At the top in the middle are what appear to be the very wide-spaced eyes of the Great Darkness. Working clockwise around the crystal shards are Superman and Nightwing; Aquaman; Green Lantern (GL) Hal Jordan; Flash (Wally West); Darkseid; and Pariah.
Page 1 – Panel 1: The story, as the caption says, takes place after the death of the Justice League as seen in JUSTICE LEAGUE #75. And this is Nightwing.
Page 1 – Panel 2: The bad guy is Danny “Brick” Brickwell, a villain of Green Arrow’s from Star City.
Page 2: And flying in to save the day is Superman, in this case the Jon Kent, son of Superman and Lois Lane, version.

Page 2 – Panel 2: Black Adam revealed the news of the Justice League’s death at the end of JUSTICE LEAGUE #75.
Page 2 – Panel 4: Nightwing seems to channel the feelings of many comics fans at this time as he points out that Superman’s died before.
Page 3 – Panel 1: A reminder of Superman’s funeral after his death at the hands of Doomsday. At the top is Batman, then clockwise from him are Wonder Woman; Nightwing; GL Hal Jordan; and Robin (Tim Drake.)
Page 3 – Panel 3: Nightwing mentions Batman’s death (as shown in FINAL CRISIS #6) and mentions how Batman returned, just as Superman had. He then talks about Barry Allen returning from death.
Page 4 – Panel 1: Nightwing has faith in his fellow heroes and believes they’ll return.
Page 4 – Panel 3: Nightwing is surprised at Superman’s revelation that statues of the Justice League are being erected at the Hall of Justice.
Page 4 – Panels 5 and 6: For the first time, his faith looks a lot like denial of reality.
Page 5 – Panel 1: And in answer to Superman’s question about not everyone returning from the dead, Nightwing can’t help think of his parents and Alfred Pennyworth.
Page 5 – Panels 3 to 5: Beef Bourguignon with ketchup has a long history with Superman, not only being his favourite meal but also a code word between him and Lois to let the other know they’re safe.
Page 6 – Panel 2: On the right of the panel is Kid Amazo, and with him are some Amazo prototype androids.
Page 6 – Panel 5: Nightwing does something Batman hardly ever does and realises his mistake and apologises for it.
Page 7: And with that the two heroes set off to take down Kid Amazo, with Nightwing agreeing to speak at the vigil.
Page 8: Credits for this issue.
Page 9 – Panel 1: In Central City, left to right, are Wallace West; Wally West; Iris Allen; and Linda Park.
Page 9 – Panel 2: Iris sums up the life of a hero’s significant other.
Page 9 – Panel 3: The Avery Wallace mentions is Avery Ho, another Flash and member of the Justice League Incarnate team who also met their ends in JUSTICE LEAGUE #75.
Page 9 – Panel 5: Iris understands that Wally has to step up after the death of the Justice League.
Page 10 – Panel 1: Wallace, as Kid Flash, accompanies Wally, as the Flash, to take on any random criminal wanting to take advantage of the lack of Justice League.

Page 10 – Panel 3: Like Nightwing, Flash is unwilling to accept the League being dead and instead uses the word “gone.”
Page 10 – Panels 4 and 5: Whack-a-Mole is, to be fair to Kid Flash, a somewhat dated reference.
Page 11 – Panel 1: In the background is Giganta who appears to have gone on a rampage.
Page 11 – Panel 2: A really nice panel showing Flash and Kid Flash helping the citizens of Keystone City before both leaping up and . . .
Page 12: . . . striking Giganta.
Page 13 – Panel 1: Carlin’s Hardware is likely a reference to long-time DC editor Mike Carlin.
Page 13 – Panel 4: Nice to see Wally taking the time to wise-crack amidst the drama.
Page 14 – Panel 1: In Happy Harbor, Flash and Kid Flash net themselves some members of The Trench, enemies of Aquaman.
Page 14 – Panels 2 and 3: They take down Lion-Mane in Midway City, home of Hawkman (although this version of Lion-Mane hasn’t faced Hawkman as far as I know)
Page 14 – Panels 4 and 5: Merlyn is hung out to dry with his own arrows in Park City; interesting that this was chosen and not Star City.
Page 14 – Panels to 8: And Kid Flash is no longer scared, his mind focused on the job and feeling good about it.
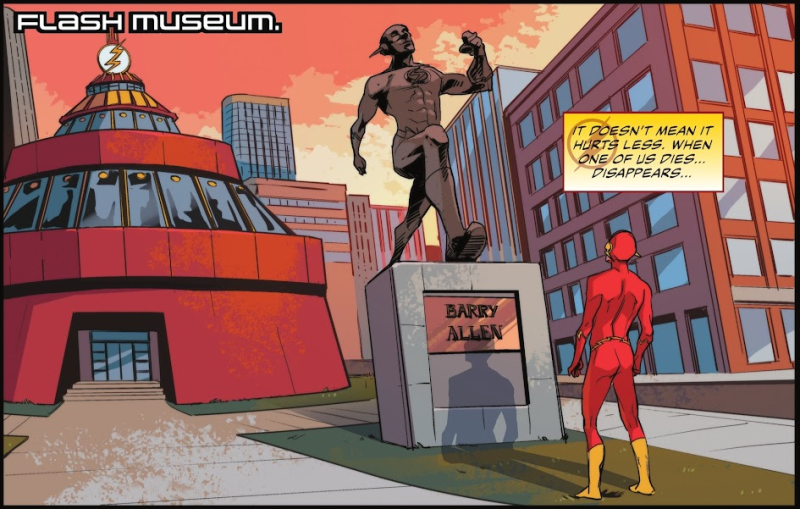
Page 15 – Panel 1: Wally takes a moment outside the Flash Museum to consider what the loss of Barry and the others means.
Page 15 – Panels 4 and 5: Flash takes a call from Superman who is dealing with an attack by Kobra.
Page 17 – Panel 1: High above the Earth, chasing an alien, is GL Hal Jordan.
Page 17 – Panels 3 and 4: Asking for backup, but no-one is answering.
Page 18 – Panel 1: Despite Jordan’s efforts, the alien reaches the ocean and begins to metamorphosise.
Page 19 – Panel 1: Luckily the alien appears to have made contact near Atlantis.
Page 19 – Panel 4: And zooming in to help is Aquaman, the Jackson Hyde version.
Page 20 – Panel 1: And like Arthur before him, he takes on any force attacking Atlantis.
Page 20 – Panel 5: As Aquaman faces off against them, Jordan arrives.
Page 21 – Panels 1 and 2: The heroes meet, though Aquaman already knows who Jordan is.
Page 21 – Panels 4 and 5: Aquaman passes on the news about the League’s death.
Page 21 – Panel 6: Jordan, being a professional, puts it to one side in order to deal with the immediate threat.
Page 22 – Panel 1: Aquaman is somehow able to determine that hunger is the driving force behind the creatures.

Page 22 – Panel 2: With surprisingly no resistance at all, Jordan goes along with Aquaman’s idea.
Page 23 – Panels 1 to 3: Generating centrifugal force separates the angry/hungry parasites from the actual alien creature.
Page 24 – Panel 1: And the parasites dissolve, leaving a much more relaxed alien.
Page 24 – Panels 4 and 5: And while Aquaman says that Atlantis needs him, he also says he’s ready to step up if the world needs him. Bit of a mixed message.
Page 25 – Panel 1: Taking a stroll through the park is Pariah, last seen as the harbinger of the Great Darkness in the pages of JUSTICE LEAGUE INCARNATE.
Page 25 – Panels 5 and 6: And he fades away, into nothingness.
Page 26 – Panel 1: But he’s back an instant later.
Page 26 – Panels 2 to 4: A friendly passer-by offers to help him find whatever he’s lost.
Page 26 – Panels 5 and 6: But she fades into the same nothingness, transforming into a different woman as she does.
Page 27 – Panel 1: And then Pariah and the passer-by are back, with Pariah telling the different woman that she doesn’t exist.
Page 27 – Panel 3: But here she is again and, from her dialogue, it seems clear that this is Pariah’s wife, and mother of their children. She refers to him as “Mossa“, his given name.
Page 27 – Panel 5: This is how Pariah appeared in the original CRISIS ON INFINITE EARTHS. He was killed in the INFINITE CRISIS tie-in series VILLAINS UNITED and has now been reborn along with the new Multiverse which he views as an inferior version.
Page 28 – Panel 1: And he doesn’t believe that his family exist in this new Multiverse.
Page 28 – Panel 2: Note the black tears streaking her face. The machine she mentions is the one Pariah built in CRISIS ON INFINITE EARTHS in order to find the origin of the universe and which caused the destruction of his world.
Page 28 – Panel 5: Pariah names his wife as Sondra; in CRISIS ON INFINITE EARTHS #7, Sondra appears but is only referred as having been Pariah’s “assistant.” Again, note the black tears on her cheeks.
Page 28 – Panel 6: Pariah refuses to look for his wife and children at the risk of destroying everything again.
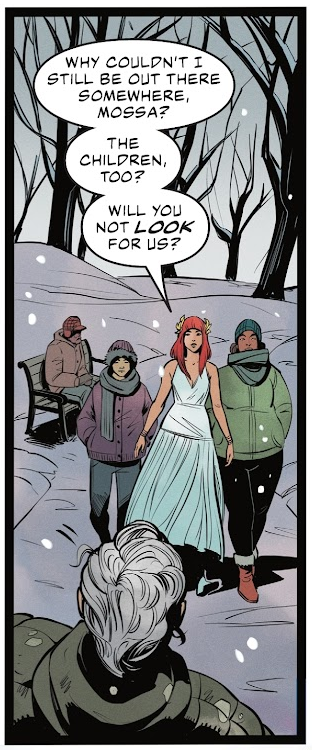
Page 29 – Panel 3: But Sondra, now accompanied by their children, will not take no for an answer.
Page 30 – Panel 1: Sondra’s eyes bleed the darkness over Pariah’s face, demanding he build his machine and put things right.
Page 30 – Panel 4: Pariah still refuses, claiming he would rather kill himself.
Page 30 – Panels 5 and 6: Sondra’s voice goads him into doing just that.
Page 31: Pariah climbs to the top of a nearby building and as he’s about to throw himself off, is transported to . . .
Page 32 – Panel 1: . . . a ruined wasteland. As we saw in INFINITE FRONTIER #6, this is Multiverse-2, the original pre-Crisis Multiverse.
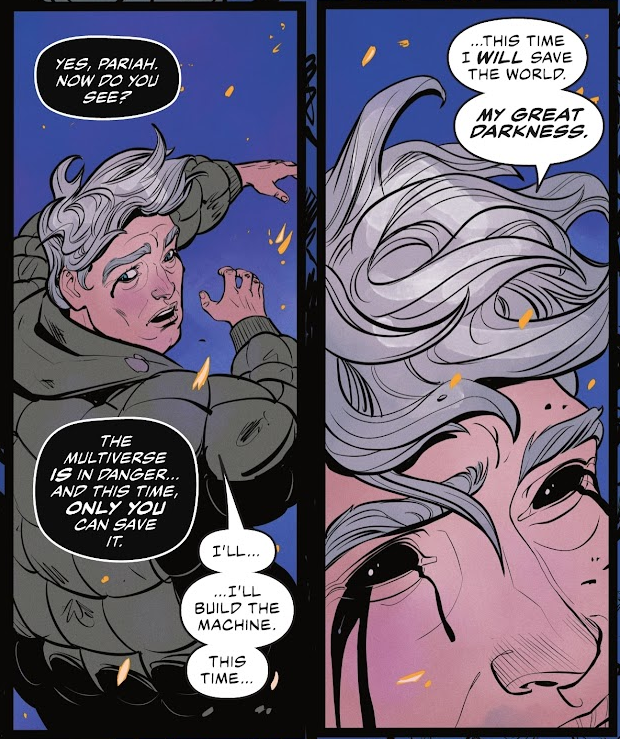
Page 32 – Panel 3: The voice of the Great Darkness speaks to Pariah and tells him that the Multiverse – Pariah’s original Multiverse – is in danger and it’s up to him to save it. Black tears begin to fall from Pariah’s eyes.
Page 32 – Panel 4: And just like that, as his eyes go black, Pariah gives himself to the Great Darkness.
Page 33 – Panel 2: At some point in the past we find Nocturna about to commit a robbery.
Page 33 – Panel 3: But this being Gotham, she’s stopped by . . .
Page 33 – Panel 4: . . . Batman.
Page 34 – Panel 4: In the present, Nocturna’s still up to her old tricks, convincing a guard that with the League dead, he’s no hero.
Page 35 – Panels 1 to 4: Despite having her goal – an Egyptian necklace in sight – she appears to hesitate.
Page 35 – Panels 5 to 6: And this being Gotham, she’s stopped by . . .
Page 36 – Panel 1: . . . Batgirl, the Stephanie Brown iteration. She refers to Nocturna by her real name, Natalia.
Page 36 – Panels 2 to 9: The pair fight to something of a standstill.
Page 37 – Panels 5 and 6: Batgirl admits things seem different with Batman gone.
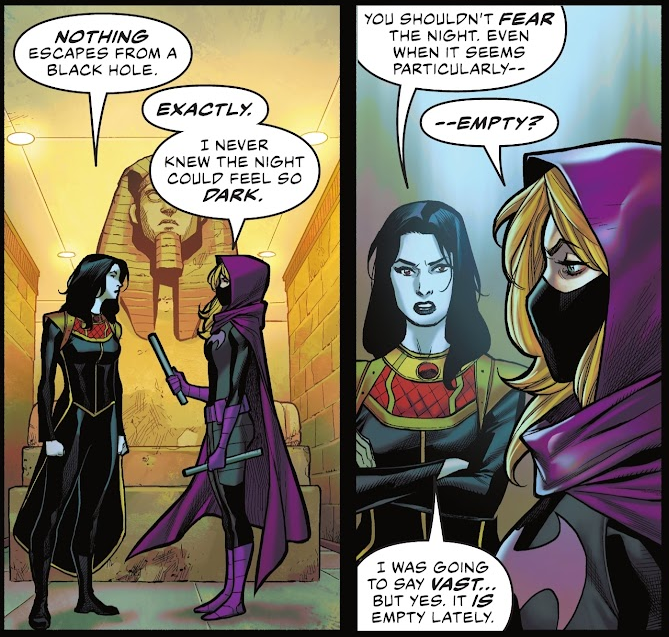
Page 38 – Panels 1 and 2: And Nocturna agrees that without Batman, the night is empty.
Page 38 – Panel 4: Batgirl leaves, answering a call from Oracle, trusting Nocturna not to steal anything.
Page 39 – Panels 1 and 2: Up on the roof, Nocturna is met by Firefly.
Page 39 – Panel 3: It appears, in the wake of the Justice League’s deaths, that the Secret Society has once again reformed.
Page 39 – Panel 5: Firefly says the Society has a plan and and indicates . . .
Page 40 – Panel 1: . . . the rest of the Society. Click the image for a larger numbered version with the key below:

1) Girder 2) Shrapnel 3) Skorpio 4) Warp 5) Shaggy Man 6) Typhoon 7) Neutron 8) Hellhound 9) Prankster 10) The Key 11) Felix Faust 12) Flamingo 13) Hyena 14) Prometheus 15) Gentleman Ghost 16) Phobia 17) Bonny Hoffman 18) Carmen Leno 19) Black Spider 20) Shadow Thief 21) Dr Destiny 22) Dollmaker 23) Angle Man 24) Silver Banshee 25) Copperhead 26) Multiplex 27) Dr Phosphorus 28) Bug-Eyed Bandit

